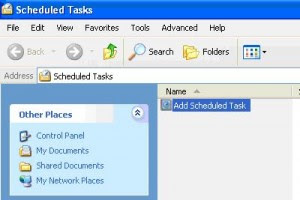
1 Go to the Windows Start menu, select the All Programs option, click the Accessories option, click the System Tools option, and then click Scheduled Tasks.
2 Select by double-clicking Add Scheduled Task icon.

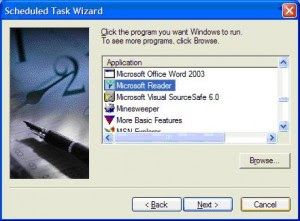
3 Then, the Scheduled Task Wizard appears. Click the Next button.
4 Choose the program Windows should run and then click the Next button. Tip: Click the Browse button to see more applications.

5. Enter a name for the task.
6. Look for Perform this task section and click the schedule Windows should follow in running this task. Click the Next button.
7. Specify the desired time and date for the task to start and then click the Next button.
8. Enter a name and password of a user and then click the Next button.
9. Click the Finish button.
That’s it, the selected application is scheduled as a task that will be executed at the interval you specified.
No comments:
Post a Comment